IOS Setup
iOS 12 Email Configuration
This guide explains how to configure your iPhone to access your email account. If you get lost, let us know you need help .
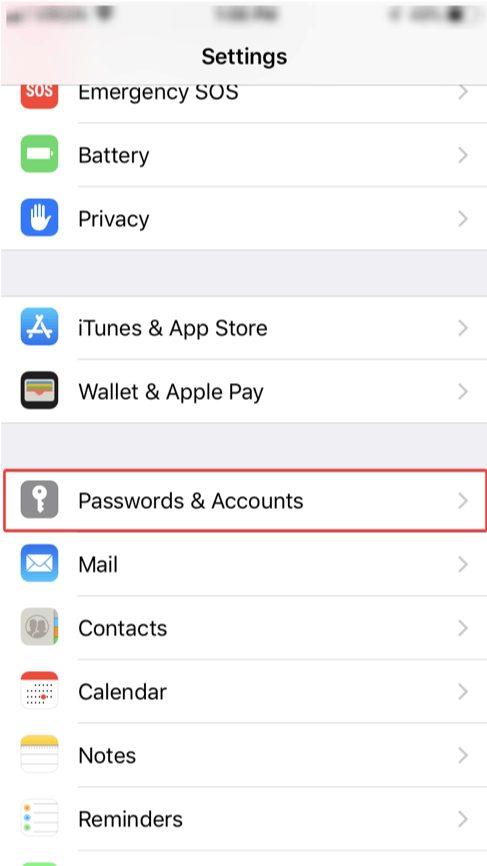
Step 1: Click on Settings on the home screen.

Step 2: Click on Passwords and Accounts
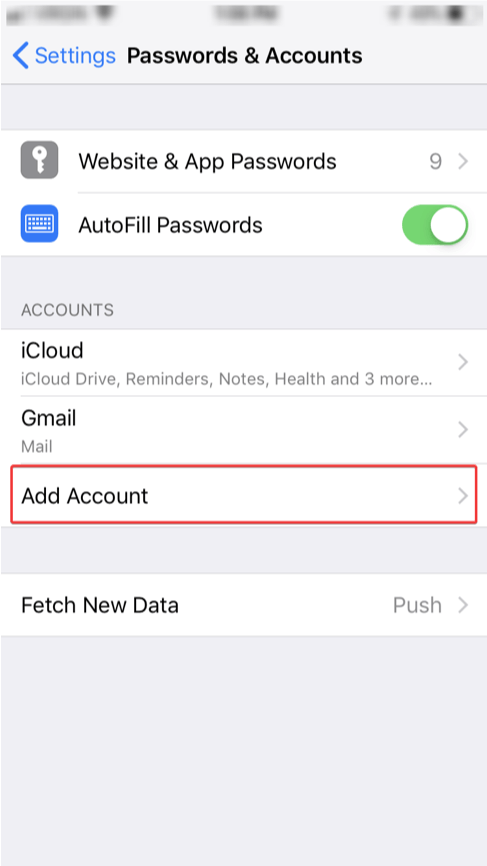
Step 3: Click on Add Account
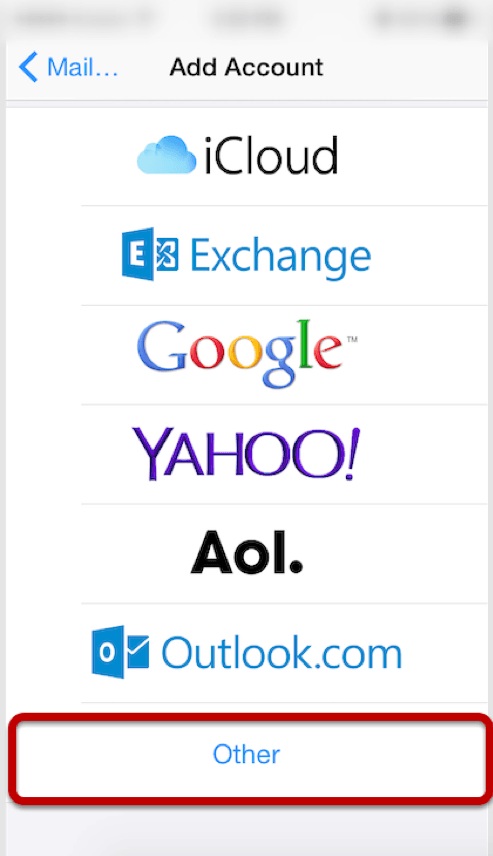
Step 4: Select "Other"
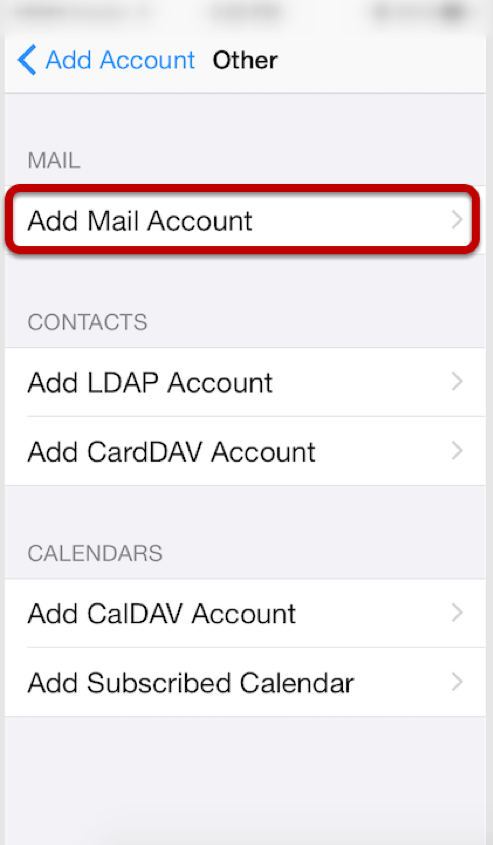
Step 5: Click "Add Mail Account"
Step 6: Enter Account Information
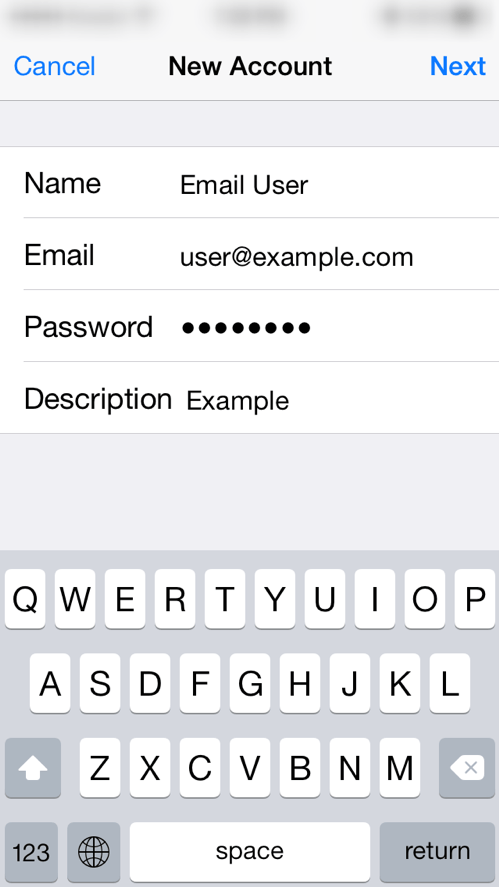
Enter the following settings:
Name
The name displayed when you send email
Email
Your full
email address
Password
Your email account password
Description
Account description of your choice
Tap Next.
Step 7: Select Account Type
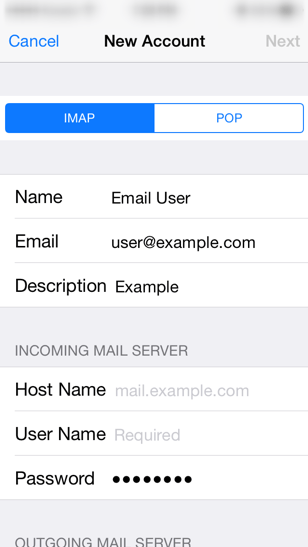
Select your account type on this page. We recommend IMAP for mobile devices as messages are stored on the server which provides better syncing with multiple devices.
Step 8: Enter Incoming Mail Server Information
Under the Incoming Mail Server section, enter the following settings.
Host Name:
mail.b.hostedemail.com
User Name:
Your email address
Password:
Your email account password
Scroll down to the Outgoing Mail Server section.
Step 9: Enter Outgoing Mail Server Information
Please note that the outgoing mail server setting is NOT optional, even though your IOS device may say it is optional. You will need to enter this information in order to properly configure the account.
Under the Outgoing Mail Server section, enter the following settings:
Host Name:
mail.b.hostedemail.com
User Name:
Your email address
Password:
Your email account password
Tap Next to complete account setup.

Tillamook, Oregon
Front Royal Virginia
and anywhere the Internet reaches
866-640-1234
